
A PDP image checklist turns product photography from a collection of attractive files into a reliable conversion system. Before a product detail page goes live, its gallery must do more than show the item. It must clarify what the customer is buying, reduce uncertainty, communicate fit and scale, preserve accurate color, work on mobile, and support a confident decision. Therefore, this 32-point checklist helps fashion and beauty teams review every product gallery before publication.
However, a checklist cannot repair a weak brief after production. If a required angle, texture detail, application image, or fit reference was never captured, the ecommerce team can only identify the gap, not manufacture trustworthy evidence. For that reason, use this framework twice: first during preproduction, and again during final quality assurance.
If you are still defining the strategic role and sequence of your gallery, begin with the Product Page Image Guide. Then use the broader Ecommerce Photography Checklist to manage production. This PDP image checklist is the final operational layer: it determines whether a specific product page is ready to sell.

Choose the right ecommerce image guide
- Ecommerce Photography Checklist — shoot preparation, capture requirements and quality control
- Fashion Ecommerce Images — catalog-wide visual standards and scalable consistency
- Product Page Image Guide — which image types each PDP needs for conversion
- Ecommerce Product Image Order — how to sequence the gallery
- PDP Image Checklist — final pre-publication review
This page: the final QA review before a product page goes live.
Why a PDP Image Checklist Matters
Customers cannot touch a garment, test a beauty texture, open a handbag, or inspect a product under different light when they shop online. Consequently, the gallery has to replace part of the physical evaluation process. Each image should answer a specific question; together, the sequence should create enough evidence to support the purchase.
Yet many teams still approve images one at a time. One frame may be sharp, another may be beautifully styled, and a third may show an interesting angle. Nevertheless, the gallery can still fail as a system. It may repeat the same information, omit scale, hide a key feature, change color between frames, or make the most useful image difficult to reach on mobile.
In other words, image quality and gallery quality are not the same thing. A technically excellent photograph can still be commercially weak if it does not reduce uncertainty. Likewise, a complete gallery can still underperform if inconsistent crops, slow files, or an illogical sequence create friction. Therefore, the review must consider both the individual asset and the customer journey.
How to Use This Product Page Image Checklist
Assign a clear owner to the final review. Depending on the organization, that may be an ecommerce manager, producer, art director, merchandising lead, or content operations specialist. However, the owner should not approve the gallery in isolation. Product, creative, merchandising, and technical stakeholders need defined sign-off responsibilities.
For each SKU and colorway, classify every checkpoint as:
- Pass: the requirement is present, accurate, and ready to publish
- Revise: the asset exists, but crop, color, retouching, order, or export needs correction
- Missing: the gallery lacks evidence required for an informed decision
- Not applicable: the requirement does not meaningfully apply to that product
Importantly, “not applicable” should be a reasoned decision rather than a shortcut. A skincare serum may not need front, back and side views in the same way as a handbag. Nevertheless, it may require packaging scale, applicator, texture, finish and usage images. Thus, the checklist remains consistent while the evidence changes by category.
PDP Image Checklist: Gallery Coverage
The first section verifies whether the gallery answers the customer’s core product questions. Although the ideal image count varies, every included frame should add information. More images do not automatically create more confidence; sometimes they merely create more swiping.
1. Confirm a clear primary image
The first image should make the product immediately identifiable. It should show the complete item, preserve the intended silhouette, and remain legible at thumbnail size. Moreover, its crop should align with the collection grid so that the catalog feels deliberate rather than assembled SKU by SKU.
2. Show every decision-relevant angle
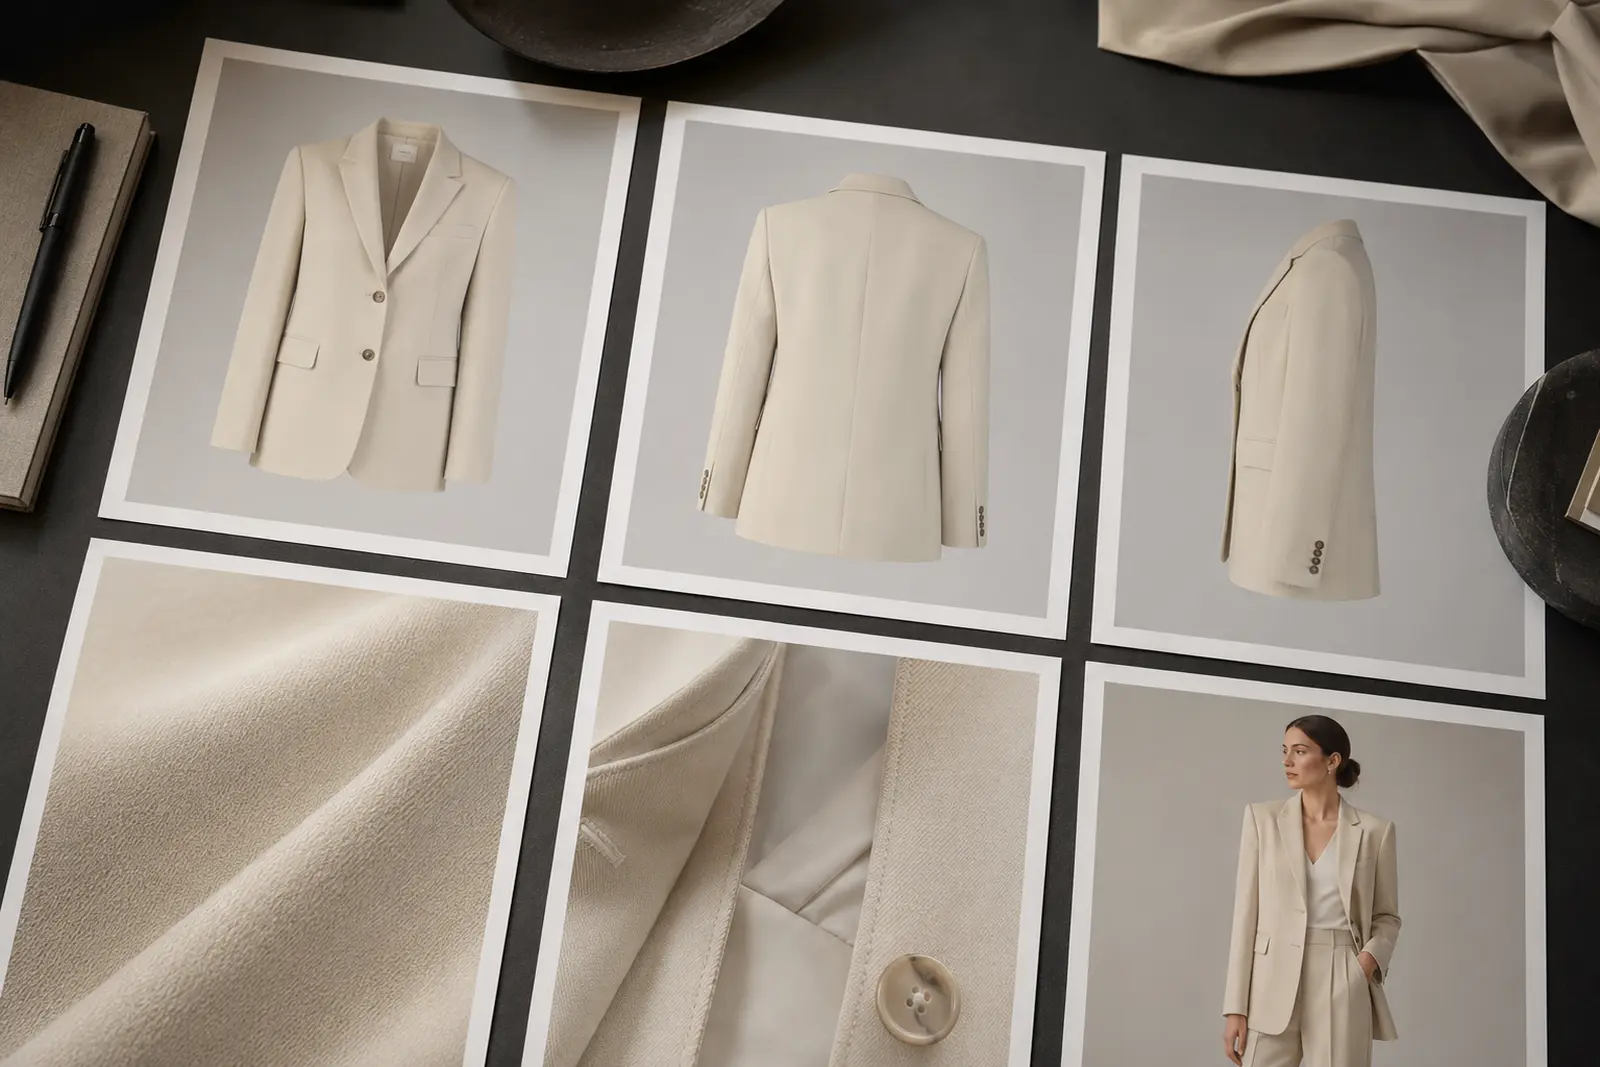
Include front, back, side, interior, base, closure, or alternate views when they change product understanding. However, avoid mechanical rotation for its own sake. Instead, ask whether each angle reveals construction, proportion, capacity, fit or function that the customer cannot infer elsewhere.
3. Include material and texture detail
Customers need to understand whether a surface is smooth, ribbed, brushed, sheer, matte, reflective, pebbled or structured. Therefore, include a close view that preserves genuine material character. At the same time, avoid excessive sharpening or retouching that makes the product appear more refined than it is.
4. Show construction and differentiating features
Photograph the details that justify preference or price: seams, hardware, lining, closures, pockets, embroidery, edge finishing, applicators, packaging systems or formulation texture. In particular, prioritize features mentioned in the product copy. Otherwise, the page makes claims without providing visual proof.
5. Establish scale
Dimensions alone are not always intuitive. Consequently, show the product on a person, in a hand, beside a familiar object or in a realistic use environment when scale affects the decision. For accessories and beauty products, a scale reference often prevents a customer from imagining the wrong size.
6. Demonstrate fit, drape, or application
Fashion PDP photography should show how the product sits on the body, while beauty imagery should reveal application, texture or finish. Furthermore, the pose should support evaluation rather than obscure it. A dramatic gesture may strengthen campaign imagery; however, a product page still needs a readable view of fit and proportion.
7. Show movement or function when relevant
A garment may change substantially in motion. Likewise, a bag opens, a clasp fastens and a beauty applicator dispenses product. Therefore, use an image or short video that demonstrates the relevant behavior. If function matters to value, the gallery should not leave it to imagination.
8. Represent every purchasable variant accurately
Each colorway, finish, or pattern should display the correct corresponding imagery. In addition, verify that selecting a variant updates the primary image and gallery correctly. A mislabeled color is not merely a content error; it can create disappointment, returns and avoidable service costs.
PDP Image Checklist: Accuracy and Visual Consistency
Once coverage is complete, evaluate whether the images agree with one another and with the physical product. Consistency creates trust and makes comparison easier. Conversely, unexplained changes in color, proportion, shadow or crop force the customer to decide which image is accurate.
9. Verify color against the approved product
Review color on a calibrated display and compare it with an approved sample under controlled light. Although screens vary, the production team should still establish a reliable master. Also verify difficult colors, especially black, white, red, metallic, fluorescent and subtle neutral shades, because clipping or color casts can erase meaningful differences.
10. Keep color consistent across the sequence
The clean product image, model view, detail shot, and lifestyle frame should describe the same color. If lighting contexts differ, natural variation may remain. Nevertheless, the sequence should not suggest that the customer is looking at several different products.
11. Preserve truthful texture and finish
Retouching should remove temporary distractions such as dust, sensor marks, or minor setup artifacts. However, it should not erase leather grain, fabric weave, natural creasing, skin texture, packaging texture or product behavior that the buyer will encounter. The commercial goal is clarity, not fictional perfection.
12. Maintain consistent crop and product scale
Comparable products should occupy a consistent proportion of the frame. Likewise, horizons, floor lines, headroom and alignment should follow the approved template. This consistency supports faster scanning and more credible comparisons across category pages.
13. Check background and shadow continuity
Background tone, exposure, shadow direction and edge treatment should feel intentional throughout the catalog. Yet consistency does not require every category to use the same lighting. Instead, define a visual rule for each product family and apply it reliably.
14. Confirm styling continuity
Verify that cuffs, collars, hems, laces, straps, closures, labels and accessories remain deliberate across views. Additionally, check that styling does not conceal a product feature or create a fit that customers cannot reproduce. Small continuity errors often become highly visible when images sit next to one another.
15. Check model and product information
If the page identifies model height and worn size, confirm that the information matches the imagery. Furthermore, verify that sample alterations, clips, padding, or temporary fit adjustments have not created a misleading silhouette. PDP photography should help the customer estimate fit, not disguise the sample.
16. Review retouching at normal and zoomed views
At normal size, assess overall credibility. Then inspect edges, repeated textures, hardware, fabric patterns, fingers, hair, seams and reflections at zoom level. As a result, the team can catch both obvious visual problems and subtle retouching artifacts before customers do.
PDP Image Checklist: Sequence and Product Gallery Optimization
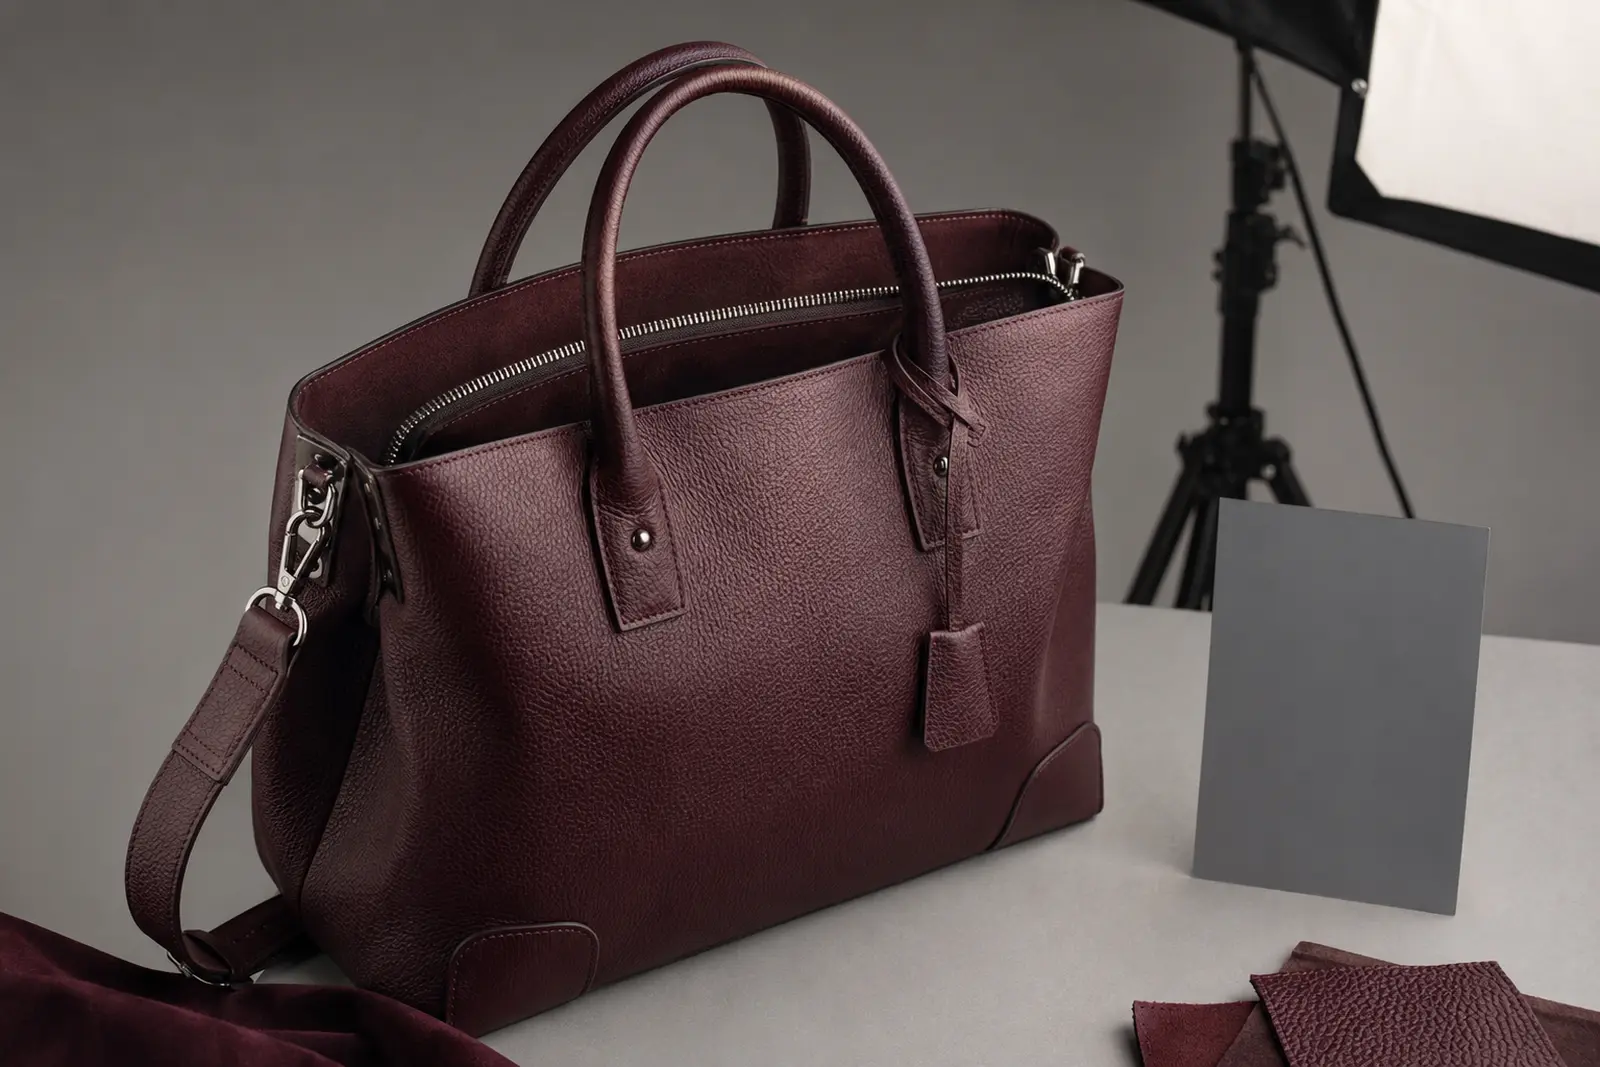
A complete set of images can still create a weak customer experience when the sequence is poorly organized. Therefore, product gallery optimization should treat image order as information architecture. The customer should encounter the most useful evidence before attention declines.
17. Lead with recognition
The first image should confirm the product selected from search, an advertisement, a recommendation or a category grid. Accordingly, avoid opening with an abstract crop unless the selling environment and brand convention make the product immediately recognizable.
18. Move from overview to proof
A useful default sequence is primary view, alternate angle, fit or scale, material detail, construction detail, function and styled context. However, category behavior should override a rigid template. For example, a beauty customer may need texture and finish earlier, while a handbag customer may prioritize scale and interior capacity.
19. Place high-value evidence early
Do not bury the strongest reason to believe at the end of a long gallery. If an unusual closure, reversible construction, premium texture or transformative finish drives the product’s value, reveal it early enough to influence evaluation.
20. Remove redundant frames
Compare adjacent images and state the unique question each one answers. If two frames deliver essentially the same information, select the stronger one. Consequently, the sequence becomes shorter, clearer, and easier to navigate, especially on mobile.
21. Separate campaign mood from product proof
Lifestyle and campaign images can create desire, context and distinction. Nevertheless, they should complement rather than replace clean product evidence. If a stylized frame obscures color, fit, texture or scale, place it after the images that establish those facts.
22. Match the sequence across related products
Comparable SKUs should follow a recognizable gallery logic. As a result, returning customers learn where to find fit, detail, and scale information. Moreover, internal teams can identify missing assets faster because deviations become visible.
For a broader system that connects product imagery across the full catalog, see Fashion Ecommerce Images: How to Build a Product Image System That Converts.
PDP Image Checklist: Mobile and Accessibility Review
Desktop approval is not enough. For many brands, the dominant product-page experience occurs on a smaller screen, where crop, sequence, controls and load behavior become more consequential. Therefore, the PDP image checklist must include a real-device review rather than a resized browser window alone.
23. Test the first image on a real phone
Confirm that the product is recognizable without zooming and that important details are not too small. Also check whether badges, navigation controls, sticky interface elements or promotional overlays cover the subject.
24. Swipe through the complete gallery
Verify sequence, transitions, thumbnails or indicators and the path back to the first image. In addition, confirm that no frame appears unexpectedly cropped or letterboxed. A gallery can look coherent on desktop while feeling fragmented on mobile.
25. Test pinch, zoom, and detail inspection
Customers should be able to inspect meaningful texture and construction. However, zoom is only valuable when the source file contains genuine detail. Therefore, confirm both the interaction and the underlying resolution.
26. Review portrait and landscape crops
If the ecommerce platform generates alternate crops, check each one rather than assuming the automation is safe. Faces, feet, straps, applicators, packaging and long garments are common failure points. When possible, use approved focal points or dedicated derivatives instead of indiscriminate center cropping.
27. Write useful image alt text
Alt text should describe what the image communicates in context. For instance, “black midi dress shown from the back with concealed zipper” is more useful than “image two” or a list of keywords. At the same time, avoid repeating identical descriptions across the entire gallery. Decorative mood images may use empty alt attributes when they add no essential information, depending on the page implementation.
Before publishing the page, confirm that your product image sequence guides shoppers from first impression to product understanding.

PDP Image Checklist: Technical Delivery and Search Readiness
Strong images can still damage the experience if they are unnecessarily heavy, incorrectly mapped or delivered without useful metadata. Thus, the ecommerce product image checklist must extend beyond visual approval into technical implementation.
28. Verify dimensions and source resolution
Images should be large enough for the site’s largest intended display and zoom behavior. Conversely, uploading enormous masters without an image-delivery strategy can waste bandwidth. Define a production master, then create responsive derivatives appropriate to the platform.
29. Use efficient formats and compression
Export photographic imagery in an efficient modern format when the platform supports it, while preserving sufficient detail and color. Then inspect the result visually. A smaller file is not an improvement if compression destroys fabric texture, gradients, edges or beauty-product finishes.
30. Confirm filenames, variant mapping, and image order
Use a predictable naming convention tied to SKU, color, and view. For example, a structure such as sku-color-front-01.webp is easier to validate than an unexplained camera filename. More importantly, verify the mapping inside the ecommerce platform; a perfect filename does not prevent a file from being assigned to the wrong variant.
31. Prevent layout shift and broken assets
Ensure width and height attributes, or an equivalent reserved aspect ratio, are present so the page does not jump as imagery loads. Additionally, test for broken URLs, missing derivatives, mixed aspect ratios and failed lazy loading. The primary image should receive appropriate loading priority, while later gallery assets can generally load more gradually.
32. Check image search and product-data alignment
Confirm that product name, variant, image, price, availability and structured product information describe the same item. Also ensure that search engines can access the intended primary image. Nevertheless, avoid treating metadata as a substitute for strong photography: technical discoverability can expose the asset but it cannot make an unclear image persuasive.

Adapt the PDP Image Checklist by Product Category
A shared standard improves operations; however, identical shot lists can weaken customer relevance. Therefore, build a core checklist and add category-specific evidence.
| Product category | Priority image evidence | Common omission |
|---|---|---|
| Apparel | Front, back, side, fit, drape, movement, fabric, construction | Fit is shown only in a stylized pose |
| Footwear | Profile, top, sole, heel, closure, material, on-foot scale | Sole and fastening system are missing |
| Bags and accessories | Front, back, side, interior, closure, capacity, on-body scale | Interior capacity is left to dimensions alone |
| Jewelry | Macro detail, clasp, side profile, on-body scale, finish | Scale is unclear or reflections distort color |
| Beauty and skincare | Packaging, applicator, texture, amount, application, finish | Texture or real finish is absent |
| Sets and bundles | Complete set, each component, relative scale, packaging | The customer cannot tell what is included |
Build a Repeatable PDP Image Approval Workflow
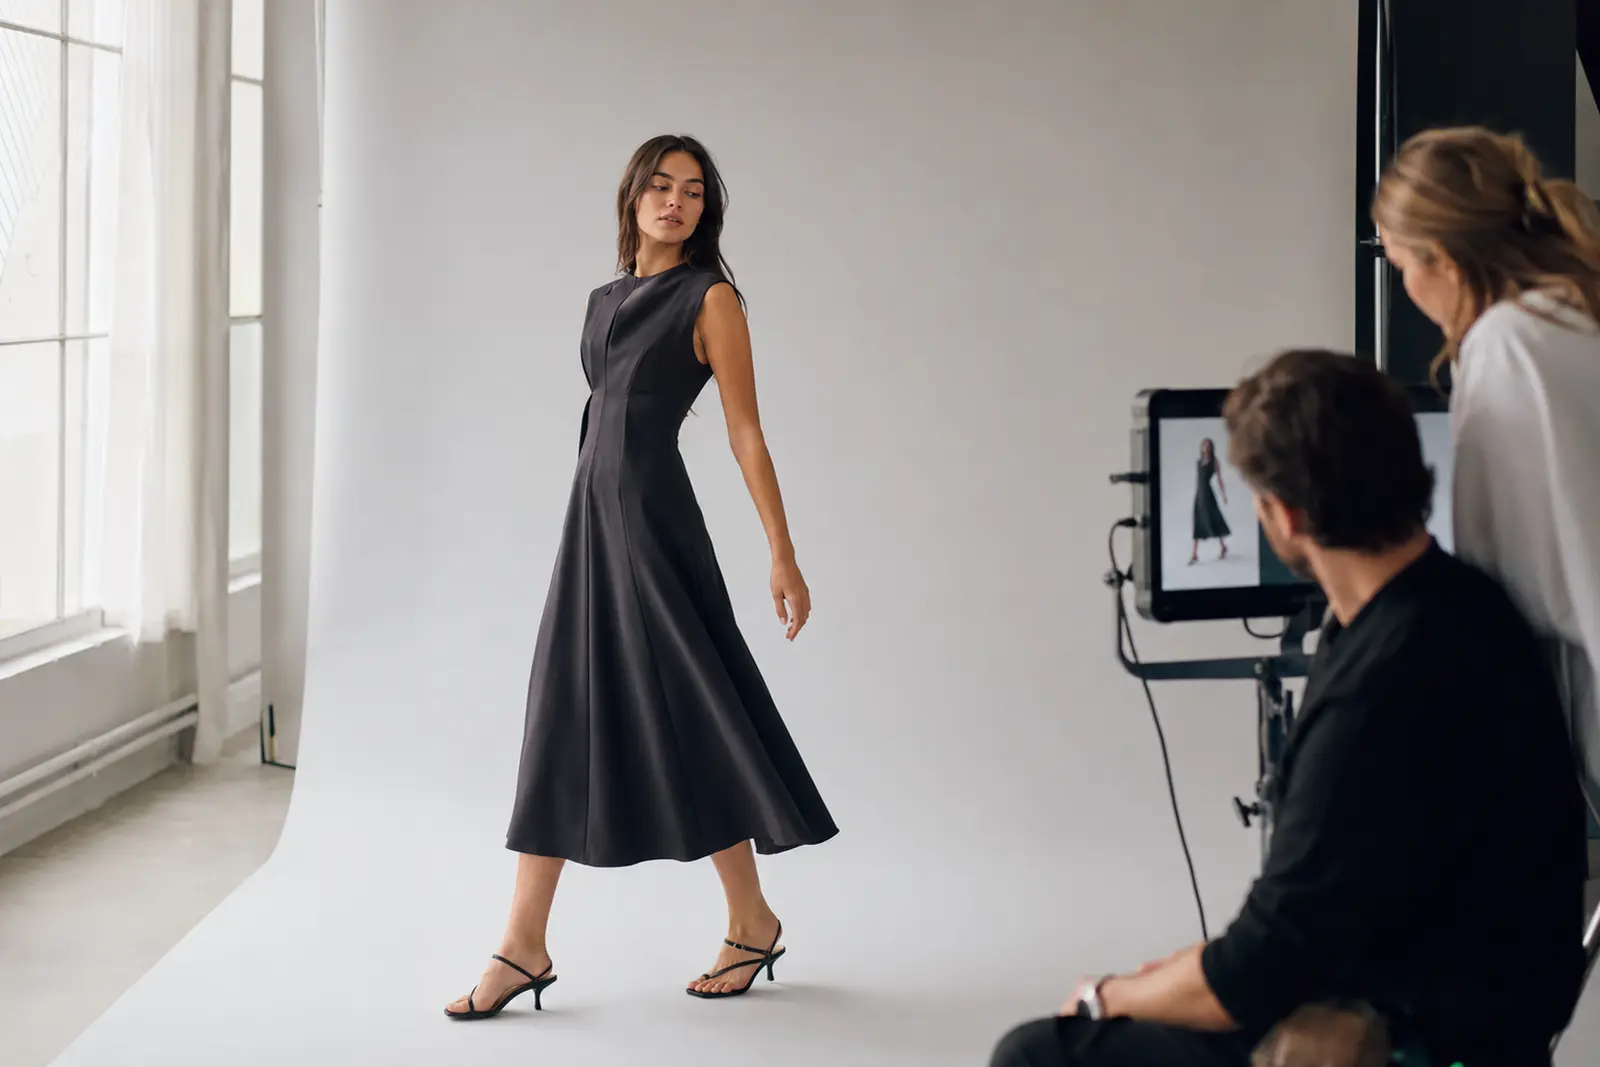
The checklist becomes more valuable when it changes the workflow rather than appearing only at the end. First, convert category requirements into a shot architecture. Next, connect that architecture to SKUs, colorways, channel ratios and priority products. Then approve representative samples before photographing the entire collection.
During production, use tethered review to verify focus, crop, styling, color and coverage. Afterward, compare retouched masters with the approved references. Finally, test the gallery inside the live or staging product-page environment across desktop and mobile.
A practical sign-off sequence is:
- Merchandising approval: correct SKU, colorway, product features, and variant relationship
- Creative approval: styling, crop, lighting, color, retouching, and brand consistency
- Ecommerce approval: gallery coverage, order, copy alignment, and customer decision support
- Technical approval: file format, responsive delivery, accessibility, performance, and correct implementation
- Final mobile review: real-device confirmation before publication
For launch collections, connect this workflow to your Collection Launch Photography plan. Furthermore, if the product pages support a larger release, the Fashion Product Launch Strategy guide can help align the gallery with campaign, inventory, and channel timing.
How to Measure the Effect of Product Gallery Optimization
A checklist improves consistency but it does not prove commercial impact by itself. Therefore, establish a measurement plan before changing every product page at once. Depending on traffic volume and platform capability, compare product-page conversion rate, add-to-cart rate, image interaction, zoom use, gallery depth, return reasons, customer-service questions, page speed and revenue per session.
However, correlation is not causation. Price, promotions, traffic quality, inventory, reviews, delivery terms and product demand can all change performance. Consequently, use controlled tests where practical and combine behavioral data with customer research. Return comments such as “color looked different”, “smaller than expected” or “fit was unclear” can reveal gaps that aggregate conversion data hides.
Most importantly, do not optimize every gallery toward more interaction. A clear first image and efficient sequence may help a customer decide with fewer swipes. Thus, the goal is not maximum gallery engagement; it is better-informed purchasing with less avoidable uncertainty.
Frequently Asked Questions About the PDP Image Checklist
What does PDP mean in ecommerce?
PDP means product detail page. It is the page dedicated to an individual product or variant, typically combining images, product information, price, options, availability, reviews, delivery details and the purchase action.
How many images should a product detail page include?
There is no universal number. Include enough images to answer the product’s relevant purchase questions without adding repetition. A simple product may need fewer frames, whereas fashion, jewelry, beauty, bags or technically complex products may require additional fit, scale, material, application, interior or function views.
What should the first PDP image show?
The first image should make the complete product immediately recognizable and align with the customer’s previous click. It should also remain clear at thumbnail and mobile size. In most cases, a clean primary product or model view works better than an abstract detail.
Should lifestyle images appear on product pages?
Yes, when they add context, desire, styling relevance or scale. However, lifestyle imagery should not replace the clean views required to assess the product accurately. Product proof should lead; campaign mood should strengthen it.
When should the PDP image checklist be used?
Use it during preproduction to define required coverage, during the shoot to confirm capture, during post-production to review consistency and accuracy and before publication to test sequence, mobile behavior, accessibility, performance and implementation.
Final Perspective: Treat Every Gallery as a Sales Conversation
A strong PDP image checklist does not ask whether the photography looks good in isolation. Instead, it asks whether the complete gallery helps the right customer understand the product, trust the representation and make a confident decision.
Therefore, review coverage before aesthetics, accuracy before polish, and decision support before image count. Then confirm that the sequence works on the device customers actually use. When those disciplines become part of the production system, PDP photography becomes more consistent, galleries become easier to scale and every shoot creates stronger commercial value.
Need to identify the gaps in your current product imagery? A Free Visual Audit is a working session that examines how your visuals perform across product pages, campaigns, paid media and launches and where your current content system may be creating friction.