
Use this 27-step Ecommerce photography checklist to plan consistent product images, improve conversion, reduce returns and build a scalable content system.
An Ecommerce photography checklist should do more than remind a team to capture a front, back and detail view. It should connect every image to a customer decision. After all, online shoppers cannot touch the material, test the weight, inspect the construction or see how a product moves in person. Therefore, photography must replace that missing physical experience with visual evidence.
However, more images do not automatically create more confidence. A product page can include ten photographs and still leave the most important buying questions unanswered. In contrast, a disciplined image system shows the right information, in the right sequence, at a consistent level of quality. As a result, customers can compare products faster, understand value more clearly and purchase with less uncertainty.
This guide provides a practical 27-step Ecommerce photography checklist for fashion, beauty and lifestyle brands. It covers strategy, pre-production, the product photography shot list, technical standards, production, post-production, delivery and performance analysis. Moreover, it treats ecommerce product photography as part of a conversion system rather than an isolated creative task.

Why an Ecommerce Photography Checklist Matters
Product imagery influences several commercial outcomes at once. First, it shapes the shopper’s initial perception of quality. Second, it helps the customer assess color, scale, fit, texture and functionality. Third, it gives merchandising, email, organic social and paid-media teams the assets they need to promote the product consistently.
Consequently, photography problems rarely stay confined to the product page. Missing angles create customer-service questions. Inconsistent crops make category pages feel disorganized. Inaccurate color increases disappointment and returns. Meanwhile, a lack of vertical or square options forces marketing teams to compromise campaign layouts or schedule expensive reshoots.
That is why the checklist should be completed before production, not after it. In particular, it should translate the commercial plan into a defined image architecture. Your broader fashion brand content strategy determines where each asset must work; the photography checklist then converts those needs into shots, formats and quality standards.
Refer to the product photography checklist.
Ecommerce Photography Checklist: Strategy Before the Shoot
1. Define the commercial objective
Begin with the result the images must support. For example, is the priority to launch a new category, improve conversion, reduce returns, increase average order value or strengthen premium positioning? Although one production can support several goals, the primary objective should guide the visual hierarchy.
When the photography supports a new collection, the broader fashion product launch readiness checklist helps coordinate imagery with product pages, inventory, marketing channels and launch-day quality assurance.
Lifestyle vs studio photography.
2. Identify the customer’s unanswered questions
Next, list what a shopper needs to know before buying. For apparel, that may include fit, length, opacity, stretch and fabric weight. For beauty, it may include texture, finish, shade and packaging scale. For accessories, customers may need to see closures, interior capacity, hardware and proportion. Each important question should have a corresponding visual answer.
3. Map images to the ecommerce journey
Not every image performs the same job. A category thumbnail must earn attention quickly, while a product-detail image must reduce doubt. A lifestyle photograph provides context; a scale reference supports evaluation. Therefore, map each shot to discovery, consideration or conversion. This approach also aligns the production with your fashion marketing funnel.
4. Confirm every sales and marketing channel
Document where the photographs may appear: product pages, marketplaces, retailer portals, email, organic social, lookbooks, PR, print and paid advertising. Then, confirm the technical and creative requirements for each channel. Otherwise, a shoot optimized only for desktop product pages may fail on mobile, retail feeds or social placements.
If the image system is part of a wider cosmetics release, follow the complete beauty launch checklist to coordinate ecommerce, campaign production, advertising and launch-day execution.
5. Set measurable success criteria
Choose a baseline and decide how performance will be evaluated. Useful measures may include product-page conversion rate, image-gallery engagement, add-to-cart rate, return reasons, time on page and revenue per visitor. Nevertheless, avoid attributing every change to photography alone. Pricing, traffic quality, availability, reviews and page speed can also influence performance. Your fashion marketing KPI framework should separate useful signals from convenient assumptions.
Pre-Production and Product Image Requirements
6. Create a master SKU list
Build one source of truth for every product, colorway, size and variant entering the studio. Include SKU codes, product names, priority status, sample location and approval owner. Because verbal changes are easily missed, the master list should be updated in real time and visible to production, merchandising and post-production teams.
7. Define product image requirements by category
A dress does not need the same coverage as a lipstick, handbag or serum. Therefore, create category-specific product image requirements. Establish mandatory angles, model or mannequin needs, macro details, scale references, swatches, packaging views and demonstration shots for each product type.
Conversion-focused product images.
8. Establish a visual standard
Document background color, shadow style, camera height, focal length, product scale, crop, horizon, model framing, pose logic and retouching tolerance. In addition, include approved reference images. A written standard reduces interpretation, while references make the intended result easier to recognize.
9. Inspect and prepare every sample
Products should arrive clean, complete and camera-ready. Steam garments, remove dust, polish hardware, check labels, align packaging and confirm that every component is present. For beauty products, prepare duplicate samples when textures, applicators or packaging may be opened during the shoot. Small defects become expensive when discovered only in retouching.
When to use lookbook or ecommerce images.
10. Confirm color and material references
Keep approved physical samples, color targets or manufacturer references available on set. Although displays vary, the production should still create a controlled, defensible color workflow. This is especially important when a subtle shade difference may affect customer expectations.
11. Assign approvals and escalation rules
Decide who can approve styling, product accuracy, lighting, framing and final selects. Furthermore, define what happens when a sample is damaged, a colorway is missing or an item does not match the product data. Fast decisions protect the schedule; unclear authority creates costly pauses.
Planning should account for both the required shots and how those images will ultimately appear in the ecommerce gallery.
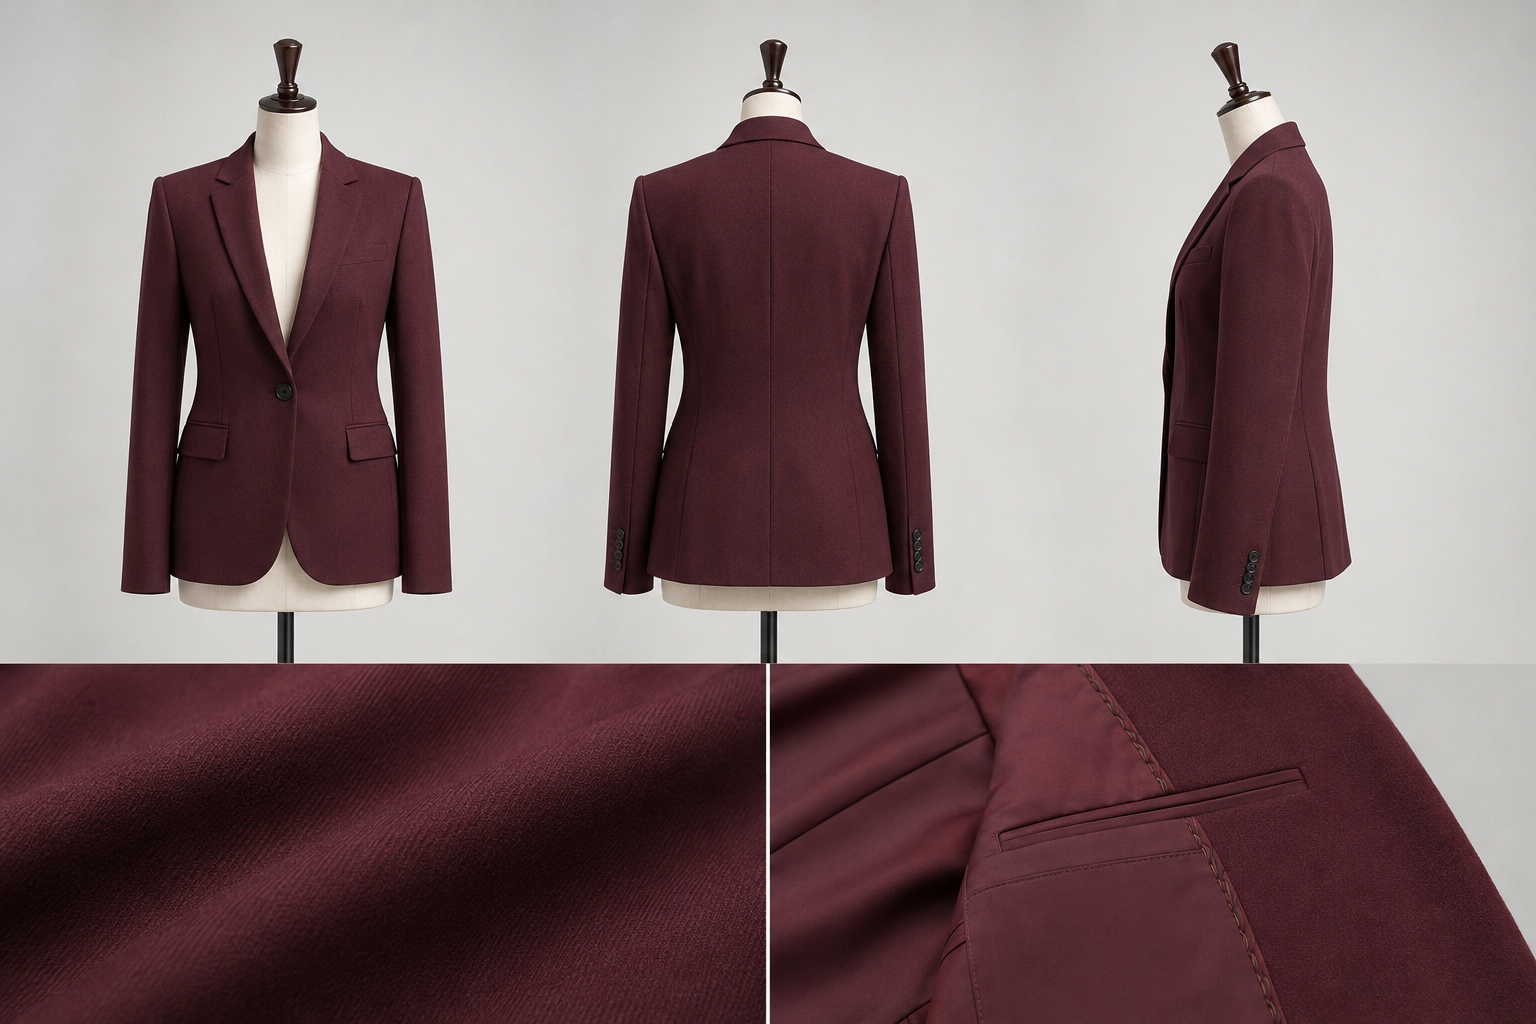
Build the Product Photography Shot List
The product photography shot list is the operational center of the shoot. It should specify what must be captured for each SKU, who or what appears in the frame, the intended crop and the required usage. Moreover, it should distinguish mandatory conversion images from optional creative variations.
Use this product photography shot list template to organize required angles, SKUs, formats, priorities and approval status before production begins.
12. Capture a consistent primary image
The primary image should identify the product immediately and remain consistent across the category grid. Match scale, crop, background and product placement so shoppers can compare items without visual friction. For marketplaces, also verify their current background and framing rules before production.
13. Add front, side and back views
Whenever the product changes meaningfully by angle, show those differences. Fashion ecommerce photography usually benefits from front, side and back coverage. Likewise, bags, footwear and dimensional beauty packaging often require several rotations. However, do not add redundant angles merely to increase gallery length.
14. Show construction and functional details
Photograph closures, seams, pockets, lining, soles, applicators, dispensers, controls and other features that influence use. Because shoppers often zoom for reassurance, detail images should be sharp enough to reveal construction without creating an unrealistic impression of scale.
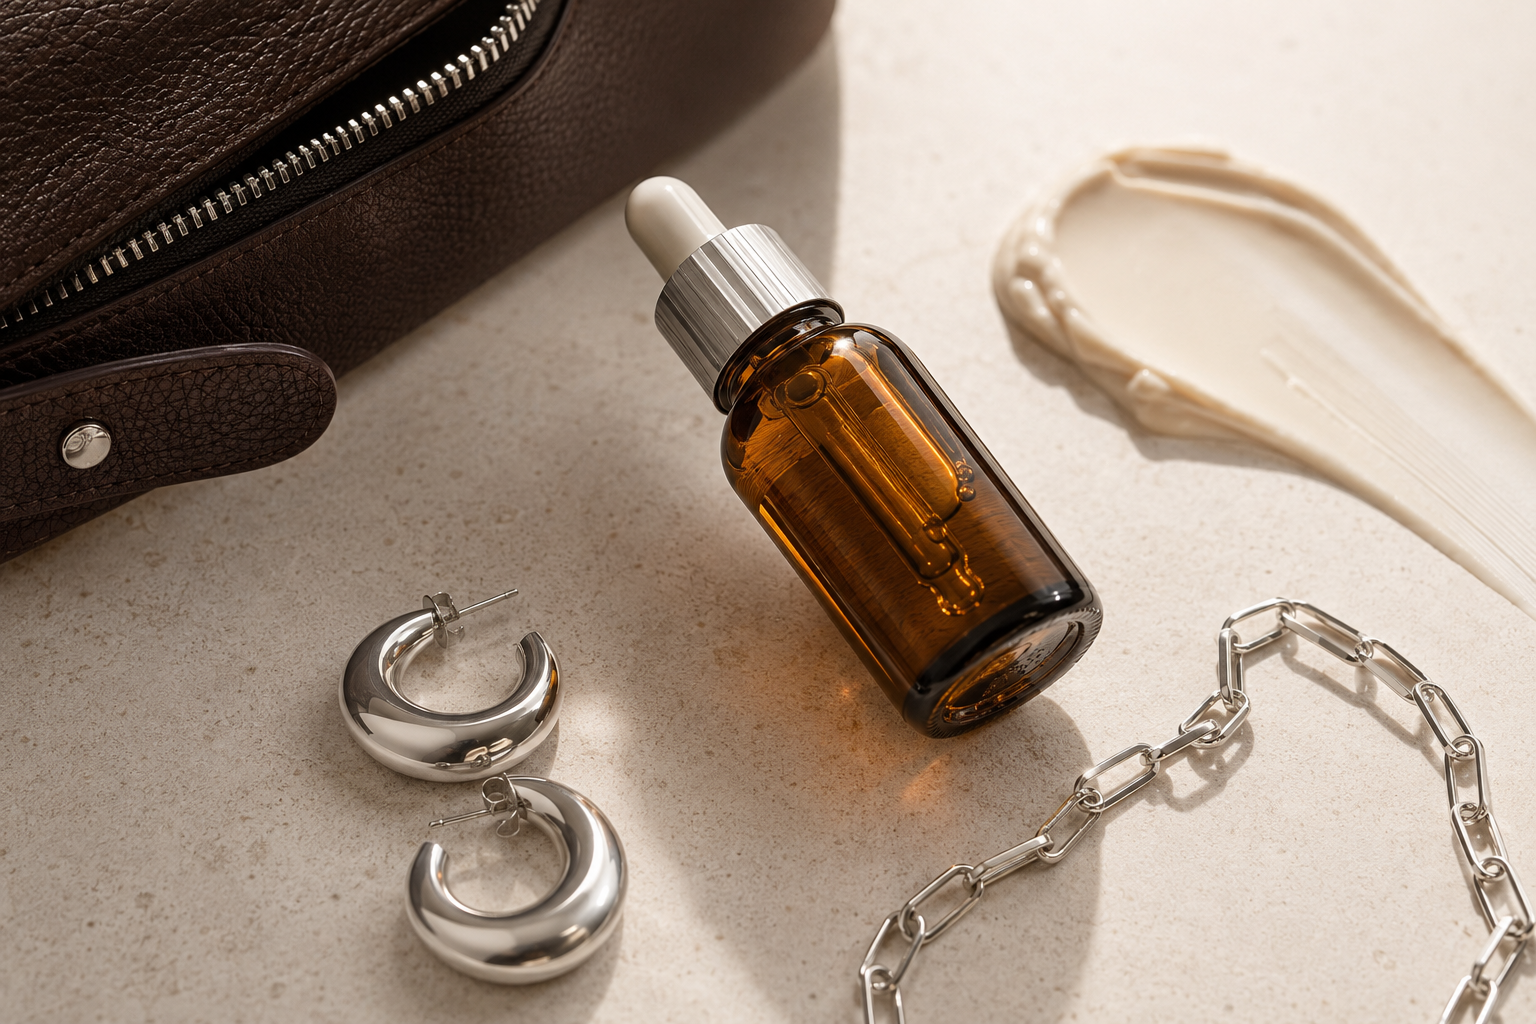
15. Show texture, finish and material behavior
Use controlled close-ups to communicate weave, grain, gloss, translucency, shimmer or surface finish. In addition, adjust the light to reveal the material honestly. Flat lighting may hide texture, whereas dramatic lighting may exaggerate it. The goal is not maximum drama; it is useful visual truth.
16. Provide scale and proportion
Include a model, hand, familiar object or dimensional reference when scale is otherwise ambiguous. For fashion, provide the model’s relevant measurements and garment size in the product copy. For accessories and beauty products, a carefully chosen human reference often communicates proportion faster than dimensions alone.
17. Demonstrate fit and movement
Static front views cannot show how fabric drapes, stretches or moves. Therefore, capture sitting, walking, turning or a functional gesture when movement affects the buying decision. For a strong fashion ecommerce photography system, poses should remain consistent enough for comparison while still revealing the character of each garment.
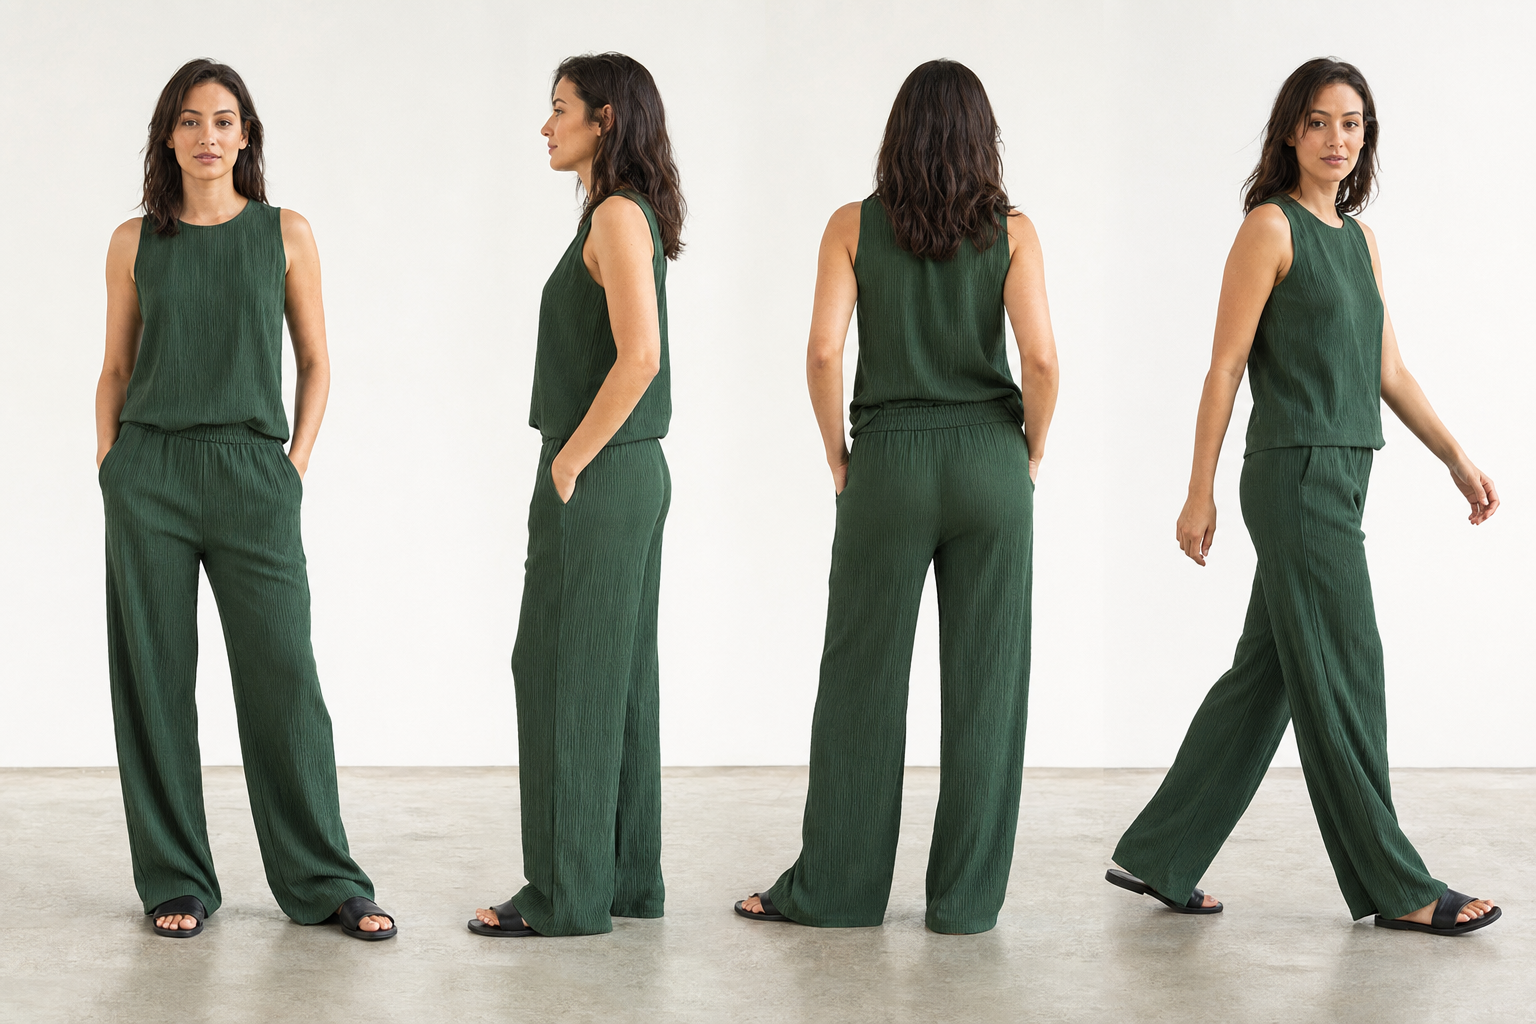
18. Include packaging and what-is-in-the-box views
If packaging is part of the value proposition, show it. Likewise, show the complete set when a purchase includes multiple components. This is particularly important for gift products, bundles, luxury goods and beauty tools. Clear inclusion images can reduce disappointment and customer-service questions.
19. Plan comparison and variant images
When colorways or sizes are difficult to distinguish, create a comparison view or a consistent swatch system. Nevertheless, do not rely on a digital color chip as the only representation of a nuanced material. Whenever possible, show the actual product surface under controlled lighting.
20. Add context without confusing the offer
Lifestyle imagery can show use, styling and aspiration. However, the featured SKU must remain identifiable, and props should not imply that additional products are included. Context supports desire; the product images still carry the burden of proof.
Technical Ecommerce Product Photography Checklist
21. Lock camera, lighting and capture settings
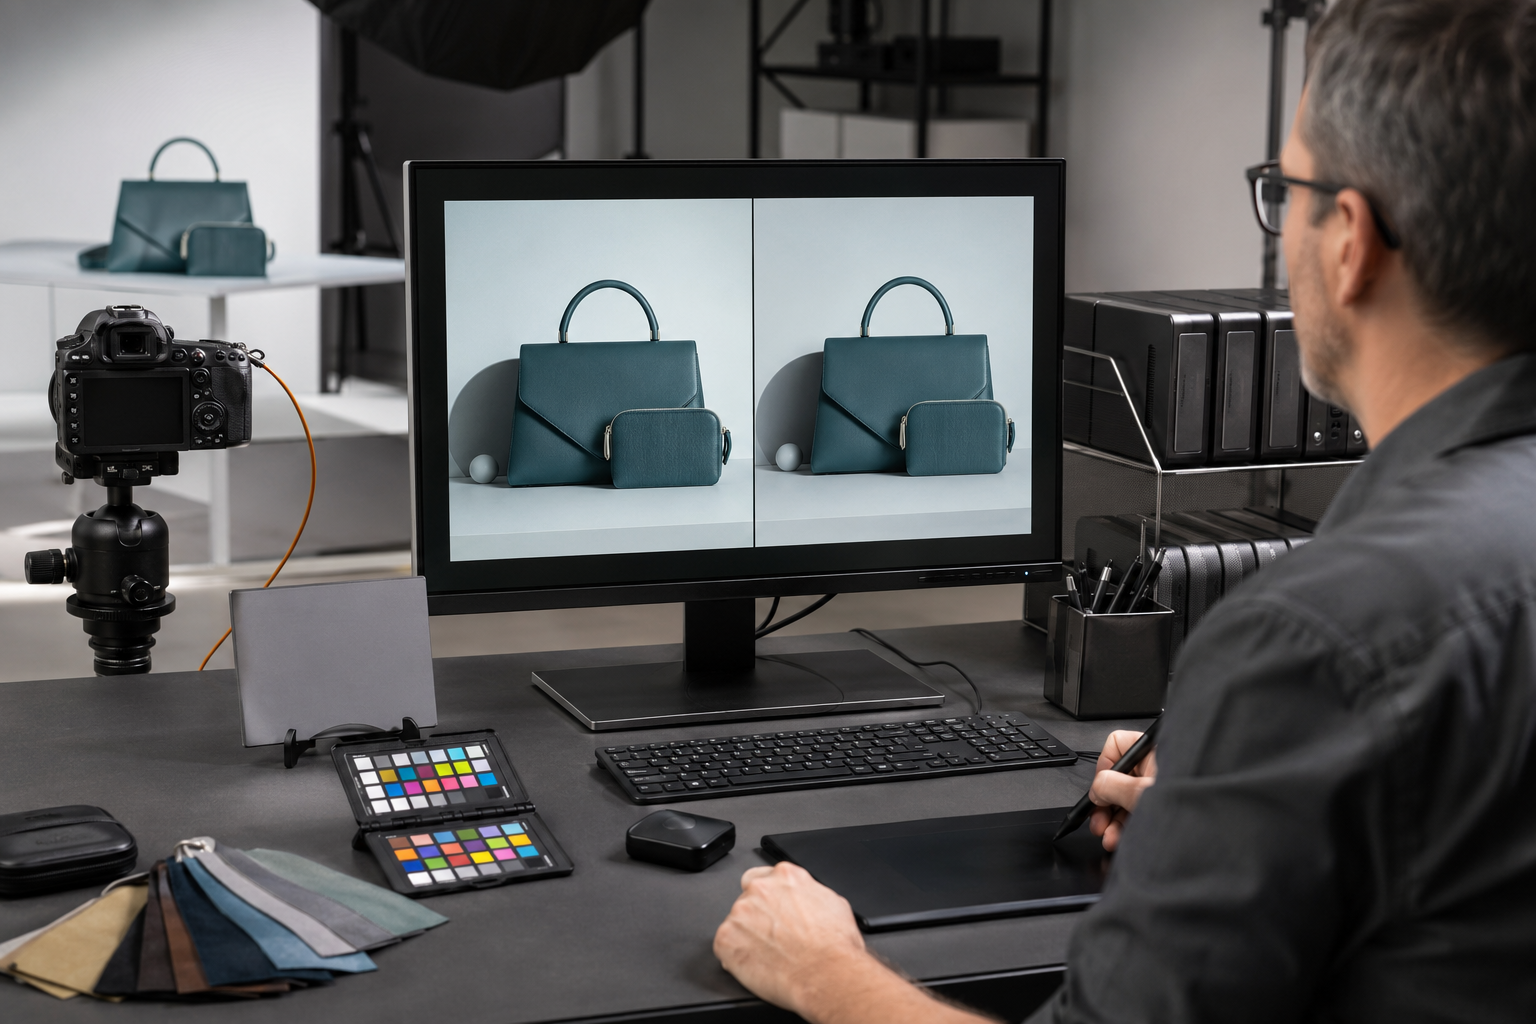
Consistency begins at capture. Record the camera position, lens, focal length, distance, light placement, power, modifiers and background measurements. Then, use tethered capture to review sharpness, exposure, styling and product accuracy at a useful size. A repeatable setup also makes future additions easier to match.
22. Use a controlled color workflow
Calibrate the capture and review environment, photograph an appropriate color reference and assess critical shades on a reliable display. Still, communicate color limitations honestly: customers use different screens, brightness settings and viewing conditions. Accuracy is a managed process, not a promise that every device will look identical.
23. Protect focus, detail and resolution
Confirm that the important product plane is sharp and that depth of field supports inspection. Capture enough resolution for zoom and approved crops, but do not confuse oversized files with better customer experience. Excess weight can slow the page, especially on mobile. Therefore, delivery should balance visible quality with performance.
24. Plan mobile, desktop and marketplace crops
Do not assume one horizontal master will work everywhere. Capture or compose for square, portrait and landscape placements where required. In addition, protect important product details from interface overlays and aggressive responsive crops. A media-first approach can prevent the same production from becoming unusable in a key channel.

Post-Production, Delivery and Governance
25. Retouch for accuracy, not artificial perfection
Remove temporary dust, capture artifacts and distractions while preserving genuine product characteristics. Do not reshape a garment, erase meaningful texture or alter color to the point that the delivered item feels different. Over-retouching may create a polished image, yet it can also create false expectations.
Write a retouching guide that distinguishes permanent product features from removable sample defects. Then, apply the guide consistently. This protects both brand standards and customer trust.
26. Standardize files, metadata and accessibility
Use a predictable naming convention based on SKU, view, color and version. For example, a structure such as sku-color-front-v1.jpg is easier to automate than subjective names. In addition, define export dimensions, color space, compression, sharpening and file format.
Alt text should describe the product and useful visible information in context. It should not repeat keywords unnaturally or describe decorative details that do not help the user. Furthermore, the most important product information must also exist as page text because alt text is not a substitute for complete product data.
27. Verify rights, approvals and final delivery
Before publication, confirm photographer, model, talent, property and third-party rights for the intended territories, channels and duration. Website use does not automatically grant paid-advertising rights. If images may enter performance campaigns, review the scope early with the Paid Ads Usage explainer rather than discovering a licensing gap after launch.
Finally, run a delivery check. Confirm that every required SKU and view is present, filenames match the data feed, colorways are correctly assigned, approvals are documented and backups exist. Only then should the imagery enter the product-information or digital-asset system.
How to Use the Checklist on Production Day

A checklist is useful only when it changes behavior. Therefore, turn this article into a live production document with one row per SKU and one column per mandatory view. Assign clear statuses such as not started, captured, approved, needs reshoot and delivered. Moreover, give one person responsibility for maintaining the board while the photographer and styling team concentrate on image quality.
Build quality-control gates into the day. Review the first completed SKU in full before increasing production speed. Then, check a representative sample after lighting or category changes. Finally, reconcile captured files against the master list before samples leave the studio. These pauses feel slower in the moment; however, they are far less expensive than discovering a systematic error during post-production.
Common Ecommerce Photography Checklist Mistakes
- Starting with aesthetics instead of customer decisions: a beautiful image can still leave fit, scale or function unclear.
- Using one checklist for every category: category-specific questions require category-specific coverage
- Confusing quantity with completeness: redundant angles increase gallery length without increasing confidence
- Ignoring mobile until delivery: essential details may disappear in responsive crops
- Approving color on uncontrolled screens: inconsistent review conditions create inconsistent decisions
- Retouching away material truth: excessive smoothing may increase returns and weaken trust
- Omitting ownership and licensing: technically finished images may still be unusable for the planned campaign
- Failing to connect performance data: without a baseline, teams repeat preferences rather than learn from outcomes
For a wider launch review, integrate this photography process into your Fashion Marketing Checklist. Likewise, when the assets support a new collection, connect production milestones to the Fashion Product Launch Strategy. In other words, photography should serve the launch architecture, not operate beside it.
Frequently Asked Questions
What should be included in an Ecommerce photography checklist?
An Ecommerce photography checklist should include commercial goals, channel requirements, a master SKU list, category-specific shots, visual standards, sample preparation, capture settings, color control, retouching rules, filenames, alt text, licensing, approvals and performance measurement. Most importantly, every required image should answer a real customer question or serve a defined placement.
How many product images should an ecommerce page have?
There is no universally correct number. A simple product may need fewer views, while a technical, high-value or fit-sensitive product may need considerably more. Instead of targeting an arbitrary count, cover identity, angles, scale, material, function, fit and context wherever they affect the purchase decision.
What images are essential for fashion ecommerce photography?
Fashion ecommerce photography commonly includes a consistent primary image, front, side and back views, fit and movement, fabric and construction details, styling context and relevant scale information. However, the exact coverage should follow the garment’s design, price, complexity and likely customer objections.
Should ecommerce images and campaign images be produced together?
They can be coordinated within one production system, but they should not be treated as interchangeable. Ecommerce images prioritize clarity, comparison and confidence. Campaign images prioritize positioning, emotion and attention. When both are planned together, teams can share resources while preserving the distinct job of each asset.
How can product photography reduce returns?
Photography can reduce expectation-related returns by showing color, fit, scale, material, construction and function more clearly. Nevertheless, imagery cannot solve problems caused by inaccurate sizing, weak product descriptions, inconsistent manufacturing or poor fulfillment. Return reasons should be analyzed before claiming photography is the sole cause or solution.
Final Perspective: Build Evidence, Not Just a Gallery
The best Ecommerce photography checklist creates a repeatable standard for visual evidence. It ensures that every product is represented accurately, every channel receives appropriate assets and every stakeholder understands what “complete” means before the shoot begins.
More importantly, it shifts the conversation from “How many images do we need?” to “What does the customer need to believe?” That question produces stronger product pages, more disciplined production and a content library that can support the brand well beyond launch day.
If your current product imagery is inconsistent, incomplete or difficult to reuse, a Visual Audit can identify the gaps between your customer journey, channel plan and existing asset system.